

Ninety-eight percent of all owners of basements experience water leaks on an annual basis. The first step to locating a leak in the wall of a basement is to locate observable cracks, dampness, and water streaks.
During this, a comprehensive search of the walls, interior, and exterior moisture, and water entrance traces is done. A controlled observation and simple tests will help find the route in which water is entering. This process of step by step procedure will assist you in finding the leak and avoiding its reoccurrence.
During the process, you will be taught how to detect leaks, know the pattern of moisture and also see weak areas in the structure.
Common Signs of a Basement Wall Leak
At the initial stages, it is important to recognize the signs to identify the precise point of leakage. Some key indicators include:
-
Dark or damp spots: The damp spots on the walls or along floor joints.
-
Efflorescence: Mineral deposits that are left behind by water as white powder.
-
Mold growth: Fungal growth, which is black or green on walls or floors.
-
Musty odor: Damp, persistent smell, which is an indication of some moisture.
-
Cracks or bulges: Wall cracks may either be vertical or horizontal and act as waterways.
As an illustration, house owners tend to believe that condensation is similar to leakages, but condensation tends to appear in cold areas and evaporates very easily. A long-standing damp stain must be an actual wall leak.
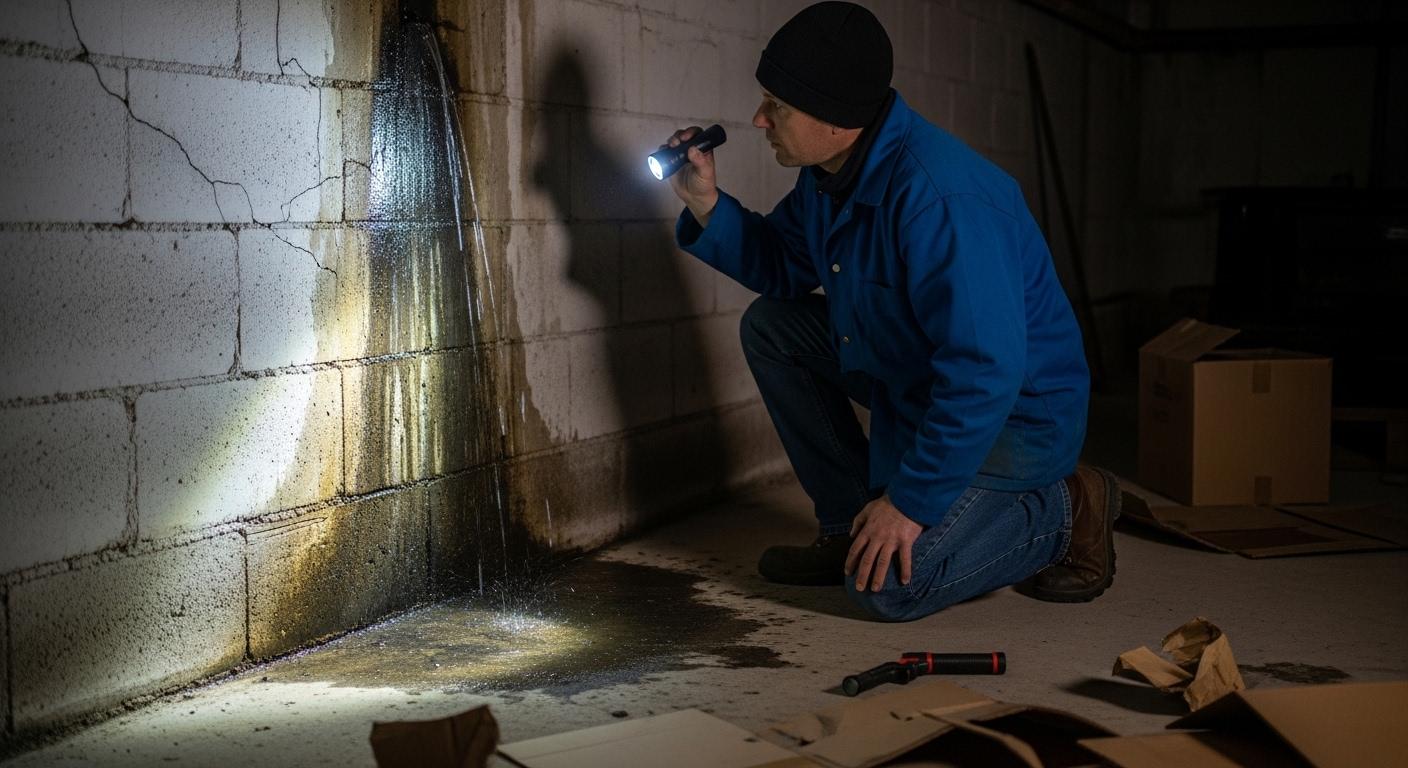
Step 1: Visual Inspection of the Basement Walls
A careful visual examination is the initial move towards locating a leak in a basement wall. Check for:
-
Splits in the hairline of the concrete or masonry walls.
-
Trails or mineral streaks of the ground or joints of water.
-
Wall panel junctions with the foundation.
Proper lighting is used to identify small traces of moisture. Cracks that are not observable under sunlight can be seen with a flashlight that is inclined at an angle on the surface.
Other construction experts use construction estimating usa to list wall conditions to evaluate. They also offer a detailed analysis of services such as structural tests, which contribute to systematic leakage finding and designing of wall tests.
Step 2: Interior Moisture Detection Techniques
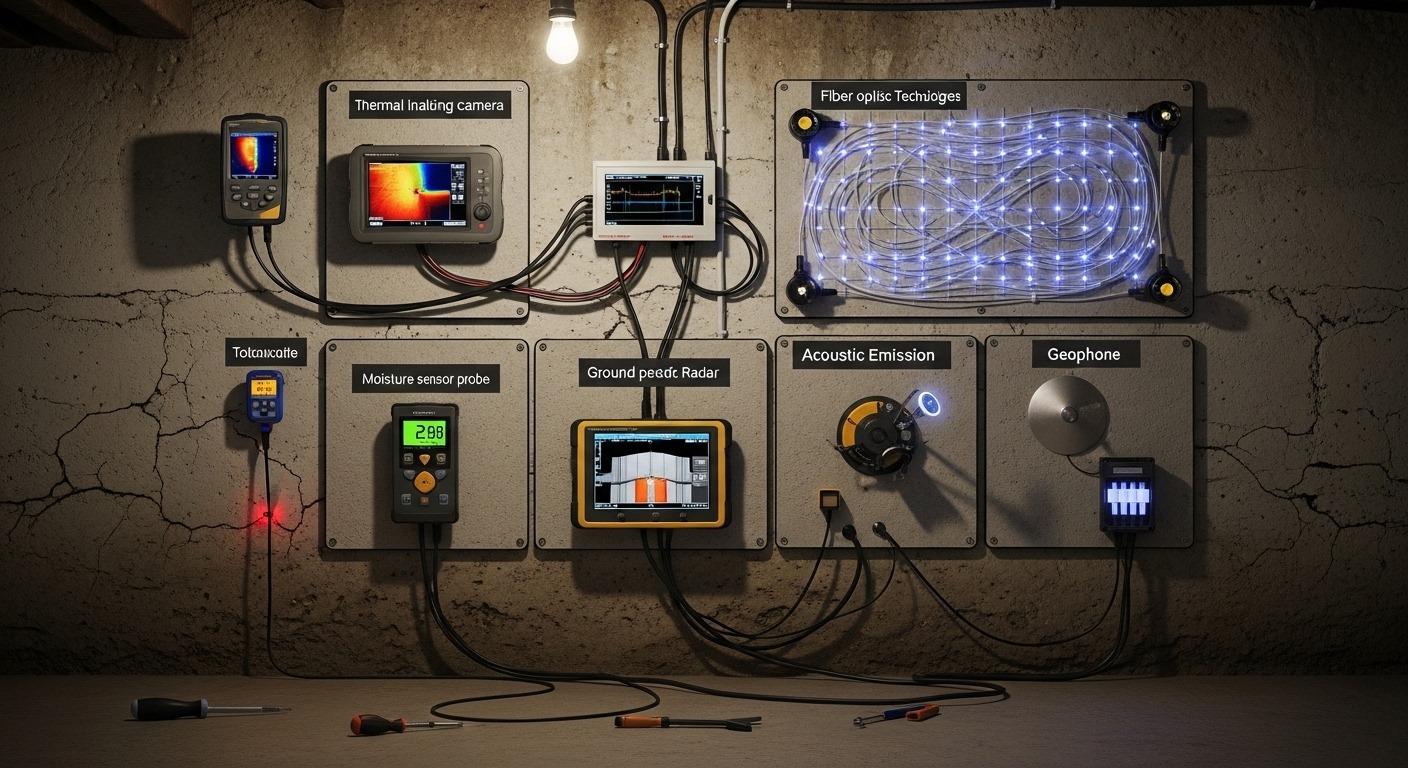
Moisture in the interiors usually manifests itself in less apparent places. Neutral techniques to be tried include:
-
Feel: Check the walls and corners with your touch to check whether they are wet or not.
-
Paper test: Press a piece of paper on a wet area in suspicion. Wet marks are evidence of active leaks.
-
Streaks: Water can take up a track either on a line of the mortar or an edge of the wall, which shows an entry point.
Regular monitoring for a few days can be used to distinguish between the short-term condensation and active leaks.
Step 3: Exterior Wall Assessment
The source of the leaks is usually external. Key steps include:
-
Investigate foundation drainage and foundation examination. The moisture may be pushed through cracks by the water piling up close to the wall.
-
Inspect the exterior wall joints and downspout outlets of the building.
-
Examine foundation cracks externally because there will be hairline cracks that are seen only on the outside.
It is of the essence to document findings. The practitioners occasionally adopt swimming pool estimating services in usa procedures to capture the water patterns to be analyzed precisely, which will provide a systematic analysis of the structural leak points.
Step 4: Trace Water Entrance
When the visual inspection is accomplished, traces of the exact points of water entry:
-
Follow streaks: Mineral streaks and streaks of water usually reveal the direction that water flows.
-
Take controlled water tests: Lightly spray areas outside to determine where the water comes in inside. Detection only requires small localized tests.
-
Check walls and corners: The check walls and corners provide common entry points of leaks between the floor and the wall or the wall panels.
Life examples indicate that even small exterior cracks can be a serious seepage source in case of pressure, and tracing in question needs patience and accuracy.
Step 5: Diagnose Structural or Material Weaknesses
There are also cases of leaks due to the weakened materials:
-
Shrinkage cracks of the concrete: Curing hairline cracks may permit water to enter in.
-
Masonry joint openings: Mortar is worn out through time and forms water courses.
-
Failure of waterproofing: Coatings applied on the exterior can get damaged, and water resistance will decrease.
Observing these weak areas is useful in making preparations for preventive actions in case the leak is detected.
Step 6: Monitor Seasonal Changes
The leaks in the basement are usually seasonal. Check for patterns:
-
Heavy rain: The leaks can be observed only post-storm.
-
Snow melt: Melted snow may be able to saturate soil and pressure the walls of the basement.
-
Humidity variations: An increase in the humidity may blow out small leaks.
Recording of such observations over varied periods would help in explaining the origin and frequency of leaks.
Step 7: Record and Map Findings

On examination, draw a leak map:
-
Indicate all wet places, streaks, and fissures.
-
Severity of the notes: slight wet spots and active water incursion.
-
Both interior and exterior observations should be included.
The record prevents the occurrence of leaks and future structural evaluation.
Step 8: Prevent Future Leak Confusion
After establishing the source of the leak:
-
Keep the drains and grading in order.
-
Keep a surveillance on areas which had been damp.
-
Know that not all leaks are major, as they might be a continuous one due to soil moisture or settling of foundations.
Constant checkups prevent false diagnoses and unnecessary treatments.
Conclusion
Locating a leak somewhere in a basement wall is done by carefully inspecting the area, tracing water routes, and also looking at structural vulnerabilities.
It is by adhering to the methods of systematic observation, by outside and inside evaluation, and by observing seasons, thus to find leaks accurately. Recording and drawing of observations will guarantee the early detection of future leaks.
Appropriate estimation and knowledge of the moisture behavior in the basement walls minimize the recurrent use of water intrusion and underpin the structural stability in the long run.
FAQs
Do tiny cracks on the wall of a basement generate major leaks?
Yes, even little cracks in the hairline of a concrete or mortar will permit water to creep through when under pressure, particularly during heavy rain or during the melting of snow.
Is seasonal monitoring of basement leakages significant?
Absolutely. Changes in rain, snow melting, or high humidity can be observed and can be used to distinguish between light condensation and significant structural leaks.